In the bathroom renovation, there are some basic steps to be observed before installing the bathtub. Let’s find out how to install a bathtub in 3 steps.
- Preliminary steps
First, prepare walls and floor for correct waterproofness. This means choosing a type of tiled flooring or opting for a reinforced concrete slab. If the bathtub is installed on an existing floor, be sure to apply a primer on the surrounding walls and add a watertight product to reinforce the effect. Finally, tiled all around.
- Installing the Elements
Make the feet holes and then fix them with a screwdriver. If you need to install taps that will be placed on the edge of the bathtub, set up holes in this part too. If you are renovating, make sure that the new bathtub has drain on the same side of the old one, otherwise you will need to change the pipes.
- Installing the bathtub
Proceed by marking the highest point of the tank on the wall tiles. Find the exact point where the top of the support is. You will need to install a board that will support the sides of the bathtub touching the walls of the bathroom. Also worry about laying the mortar under the floor, at least 5 cm high. Place the bathtub properly, use cement around the wall, and finally cover the tiles.
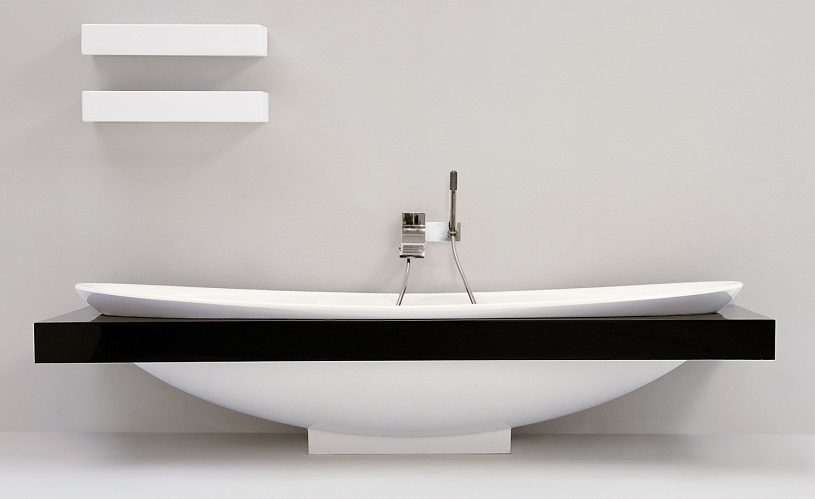
The choice of bathtub you want to install must be in accordance with the spaces you have and the style you want to give to your bathroom. If you have airy environments you can opt for the installation of the free-standing bathtub, the Leggera model will surprise you. The Io line, instead, has models for three different installations, with a perfect blend of curved and square shapes.
Image source: ceramicaflaminia.it